How to edit the header in WordPress? This is one of the most asked questions I have heard from WordPress users. This is a query that comes mostly from beginner WordPress users. The header is the part of the website that is noticed immediately by the visitors when they enter your site. According to a study, the visitor makes an impression and decision to stay or not on a website within a few seconds. As a result, having a perfect header is a must for your website.
WordPress is one of the most popular CMS (Content Management systems) because of its user-friendliness. It allows you to customize your site the way you want much easier than other CMS. So, editing your site header is not a difficult task in WordPress. Just read the article. I am going to share different methods so that you can learn how to edit the header in WordPress.
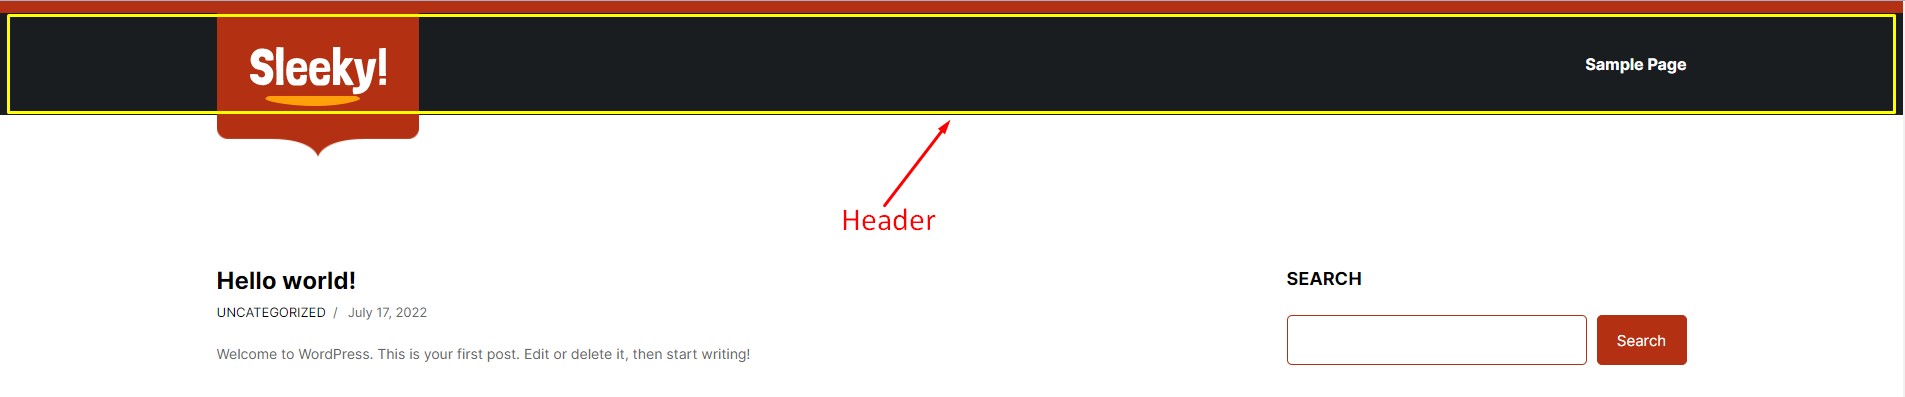
What is a WordPress header?
A WordPress header is a portion that represents the visible area on top of a WordPress site. Generally, you can see the site logo and main menu in the header section. You can also find the announcement bar, cart, search icon and so on on the header of a WordPress website.
Why edit a WordPress Header?
As you are seeking the answer to how to edit the header in WordPress, you may also wonder why you edit a WordPress header. There are tons of reasons you will find that inspire people to edit the header of a WordPress site. From creating a good first impression to offering visitors proper navigation, you need to edit the header. People spend around seconds setting a perception of a website. If you can impress them from the very first second, you will likely get more actual customers to your site.
How to edit header in WordPress– 2 different ways
As I mentioned before, WordPress is easy to use and customizable for its users. You can use different methods to edit the header in WordPress based on your preferences. I am sharing a few methods below that you can check and choose the one that is the most suitable for you.
How to edit the header in WordPress using a plugin
If you are a guy who does not want to modify the core files, you can simply use a plugin. Just like any other features, you will find a plugin to edit the header in your WordPress site. Fortunately, you will get a free plugin that will help you edit the header. Let’s see the steps to follow to edit the header with a plugin.
Step-1: Log in to your WordPress website.

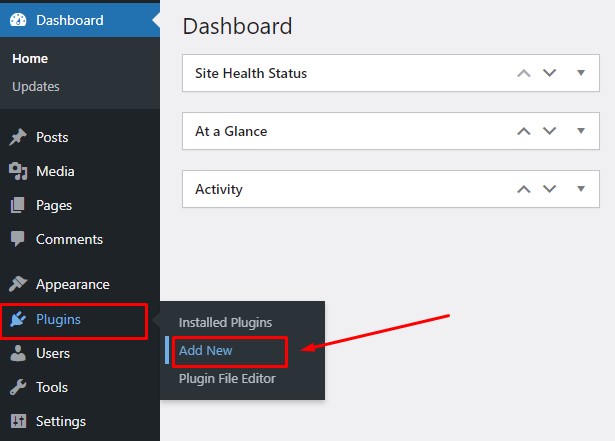
Step-2: From the Dashboard, go to Plugins > Add new.
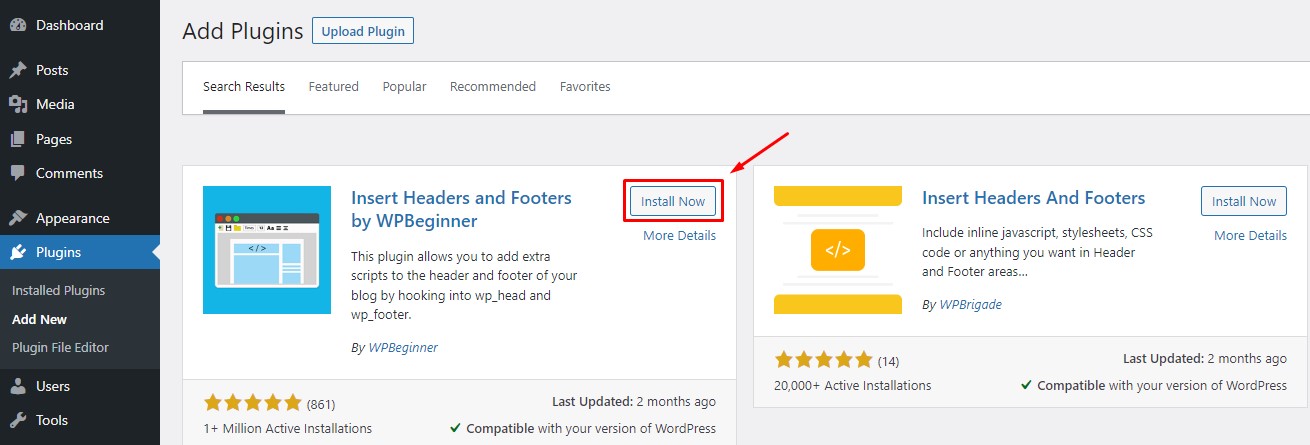
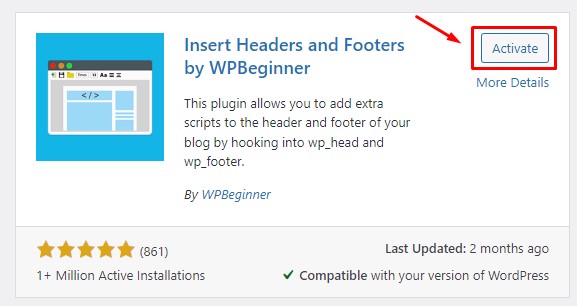
Step-3: Search for the plugin “Insert headers and footers” and click on “Install”.
Step-4: Now activate the plugin.
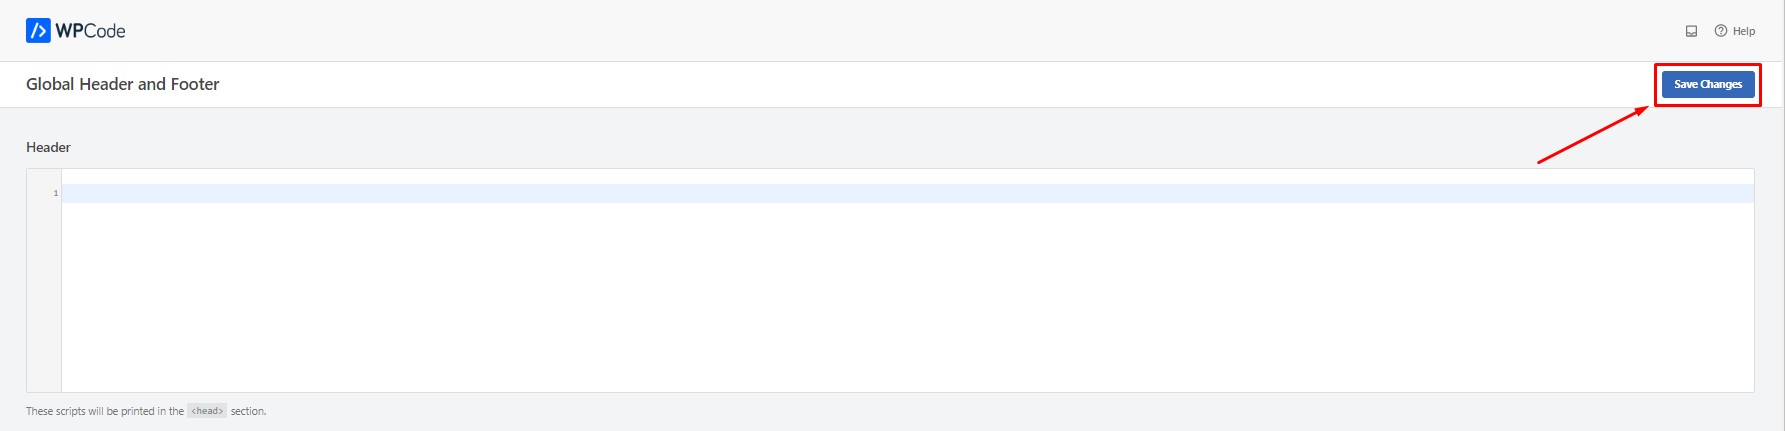
Step-5: You can now add code to customize your header using the plugin. The plugin is a good choice as you can also customize the body and footer with it.

Step-6: After adding the code, click on “Save”.
If you follow the steps I have shown, you should customize the header without facing any problems.
How to edit the header in WordPress by modifying theme code
If you are a developer and confident enough to make changes in theme code, then this method is for you. Using the method, you will get the ultimate control over the header section and you can customize the header the way you want. Moreover, people do not want to use plugins on their site when they can make the work done differently. Here, you should create a child theme before going to make changes to the core theme files. Follow the steps I am showing below.
Step-1: Log in to your WordPress website
Step-2: Go to Appearances > Theme File Editor
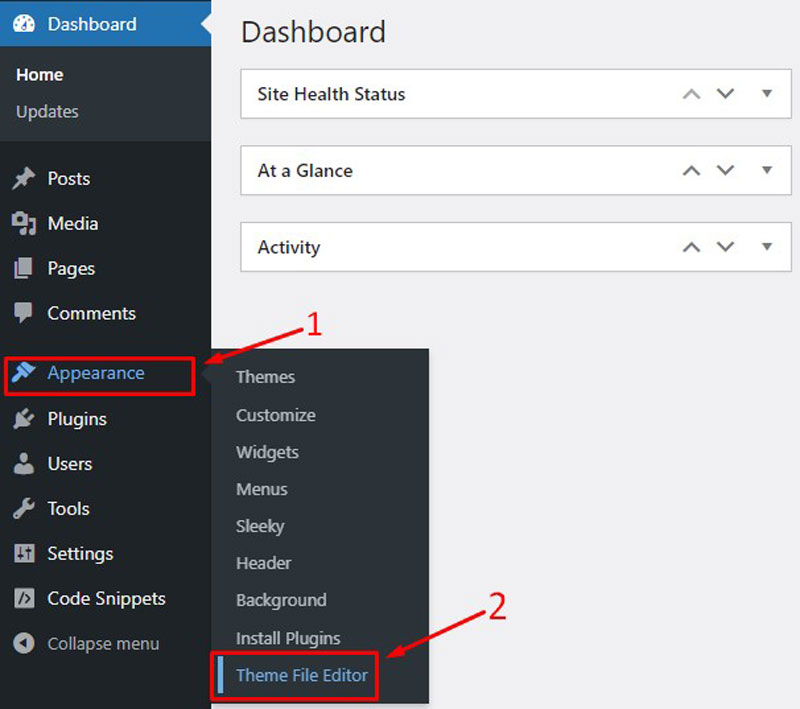
Step-3: You need to make changes to the theme’s core files and you should be careful about it. You should find the header.php file on the right side. You need to edit the file now. We are using the Sleeky theme for the tutorial.

Step-4: Now you need to edit the header.php file and add your custom code. Make sure that you add the snippet between the <head> and </head> tags.
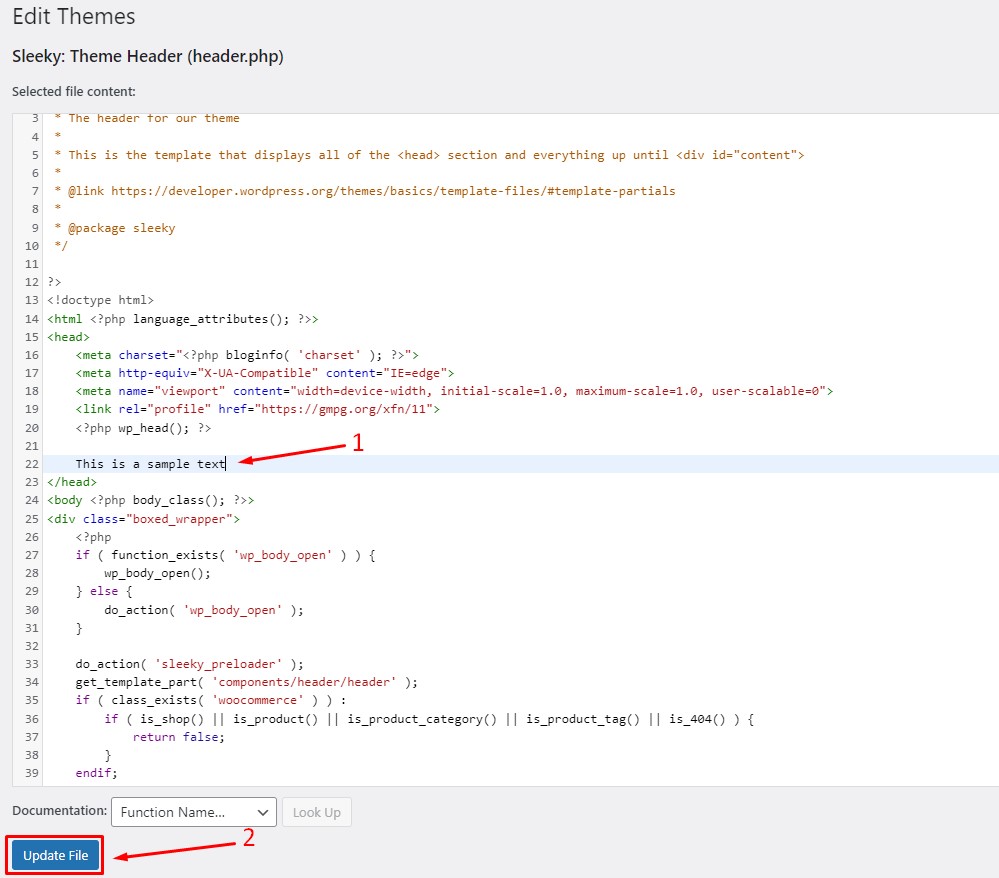
For example, we are adding a demo text here. After adding the code, click on “Update File”. You should see a successful message if your file is saved correctly. If you want, you can take a look at the front-end of your store.
As you have read the process, now you have to realize how to edit the header in WordPress by modifying the theme code.
Conclusion
For those people who are seeking information on how to edit the header in WordPress, I believe that this article will be an excellent resource for them. Here, we have shown two different ways to edit the header in WordPress so that you can choose the best suitable option for you.
You may also read: Pool Service Website Template- 5 Best Pool Services WordPress Themes