The demand for an eCommerce store is increasing day by day. Social Media has changed the evolution of the online community, this is why more people using the internet and gets inspired by online purchases. Only because of Facebook each and every user, brands, companies get the chance to become a publisher. Though Facebook has just opened the door, it has a lot of dependencies to spread your contents right? This is why you need to create, design and develop your own shop identity online. Who doesn’t want to build a healthy business? To start a business through online is growing more popular among the entrepreneurs. You can start your business by opening a website of your own. A WordPress site is better than anything else for this. In this content, we’re going to show you how to create and develop your WordPress eCommerce site with step by step guideline, where you don’t even need to know the technical coding. So, go through the article and do as we narrate. Hopefully, you will be able to create your desired WordPress eCommerce shop.
First Thing First
- You should not have coding knowledge.
- Do not need to have technical knowledge.
- You will need a domain.
- A hosting service to host the domain.
- Related WordPress theme.
- The most important thing is that you should have patience while working.
We are going to write as simply as we can do so that you can understand every step very well. So, in a nutshell, you’ll learn
How to create an eCommerce website/shop
How to register a domain name for free
How to choose and get the best wp e-commerce hosting
How to get a free SSL certificate for your shop
How to install WordPress CMS from your cPanel
How to choose the best WordPress eCommerce theme and get the best WordPress plugins
and finally how to customize your eCommerce shop
Hope that you will make it.

STEP- 1) Buy Domain Name and Hosting
The very first step is to buy a domain name and hosting for your website. This is a must for a website because your domain is your web address. You have to put the domain into a hosting server so that you can store your site’s data and contents with the help of the domain provider company.
So, here raise confusion on which hosting provider and domain registration company you should take, right? That’s pretty confusing without getting some good and honest reviews.
Well, there are a lot of renowned domain and hosting companies that are doing good around the market who give almost very same kind of good feedback. Such as BlueHost, GoDaddy, HostGator, Namecheap, Kinsta, etc. As an online product and service-based business since 2010 we’ve tested so many hosting companies and still running at 2018, we can guide you to get the best hosting company for your dream eCommerce development. This is why our customers love us for the free consultation after getting the best support out of the themes and plugins purchased from us.
Then why not you? So, don’t hesitate to read this full content!
Just follow these instructions to get a free domain with an awesome hosting package from our recommended hosting company BlueHost
- Open an account in BlueHost and add your card or PayPal account for purchasing.
- Add additional information about you and give the exact contact information about you.
- Check the domain name availability first.
Get the free Domain Name for the first year on BlueHost which will be available on all Shared, Cloud, and WooCommerce hosting plans.
- If your chosen domain name remains available to buy then go for it. Wait! Before buying don’t forget to check your domain past history. That’s mean you have to check whether the domain was used before or not. Always try to buy a fresh brandable domain and based on your requirements choose what package is suitable for you
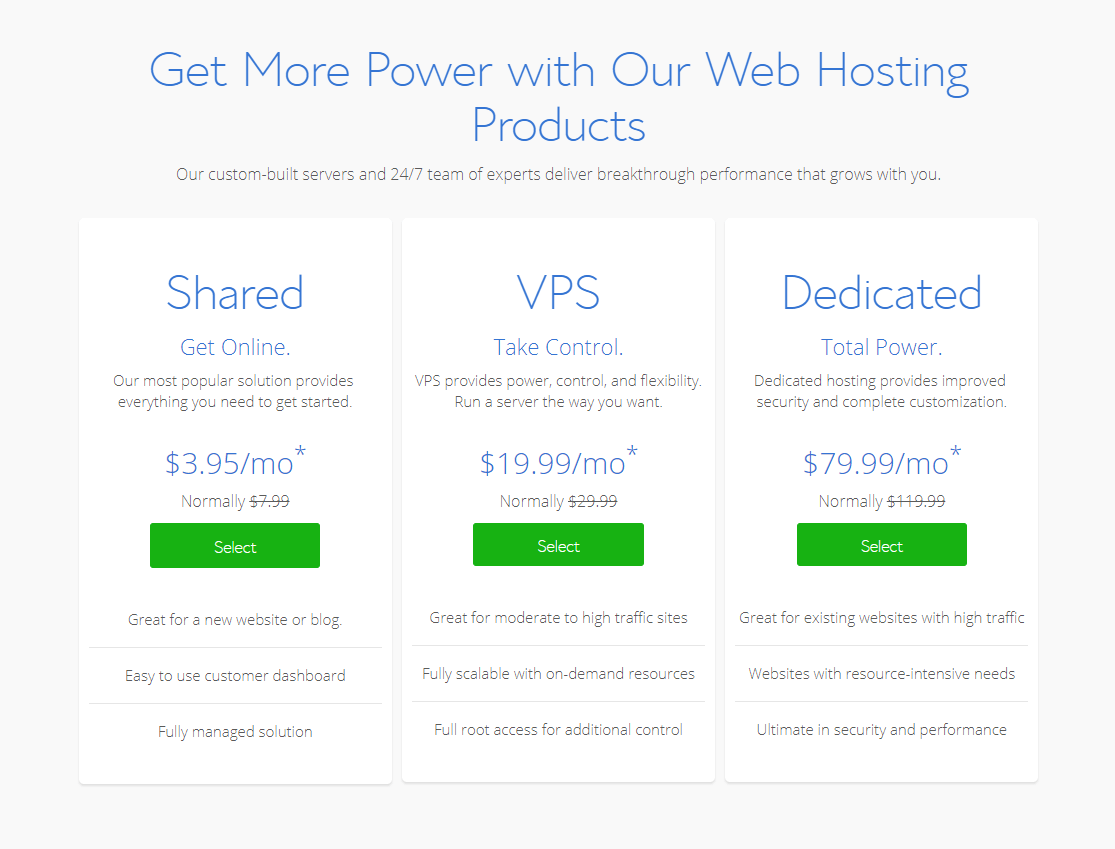
- Buy a hosting plan for your domain. We will suggest you buy for a year. One more thing for BlueHost shopping is that you may find different coupons on Google or in Social Media. Try to use those coupons for reducing the price.
- You can pay with your credit card, PayPal or MasterCard account.
Expert Tips: Enable SSL
Why would you need an Encrypt SSL?
An SSL certificate protects your customers’ sensitive information – such as usernames, passwords, and credit card numbers – from being obtained by malicious third parties as you are going to launch a new and fresh eCommerce shop website. Customers can see if your site is protected when they see the green lock icon on their browser. SSL certificates are also one of the factors search engines and SEPR’s in 2018. Google, use to determine where a website appears in search results.
Get free SSL
SmartDataSoft’s customers are given a free SSL on every Bluehost hosting plan and SSL certificates renew automatically for free. and you’ll get a free domain name for the first year which is available on all Shared, Cloud, and WooCommerce hosting plans.
STEP- 2) Email Confirmation
Once completed the payment process, you will receive an email with details on how to login to your web hosting control panel (cPanel). This is where you have to manage everything from support, emails, and all other important things.
STEP- 3) cPanel Log in
Now, it’s time to play with cPanel. Go ahead and login to your cPanel hosting account. Well, cPanel is an online Linux based system founded in 1997 where you can able to access and control of your web hosting. It has a smart interface of automation panel where you can simply manage all of your site’s functions to create an email, any kind of CMS installation, and others.
- Log in with the username and password given in the email by your hosting company.
STEP- 4) Install WordPress
It’s time to install WordPress on your website, right? As you already know about WordPress get convinced to install WordPress that has reached the most used CMS in 2018 undoubtedly! Installing WordPress is so easy as you couldn’t ever think. From cPanel you can easily install WordPress as we’re going to show you the easiest way to install your eCommerce WordPress. Please do these following steps-
- Log into cPanel.
- Scroll down and find Softaculous
- Get into the Softaculous and there you will find WordPress, PHP etc. Select WordPress.
- Give your site address, a short description with a password and hit the install button.
It will take some few seconds to install WordPress on your site. The installing speed depends on your internet connection.
STEP- 5) WordPress Log in
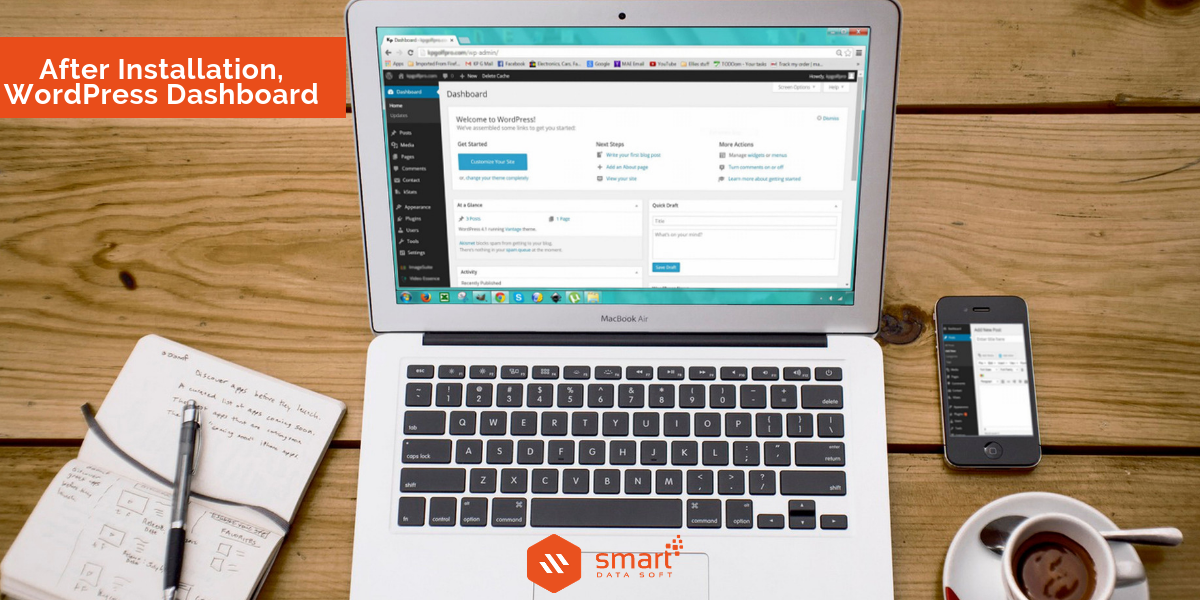
Wait for few minutes until the site is generated. Now log into your WordPress site (https://www.yoursite.com/wp-admin) by entering your username and password that has given before through your mail address.
Now what?
-You have to customize your WordPress shop based on your requirements. You have to put all the brand materials of your shop like logo, contents, header, footer, pages etc for your site. You can log into this section by following www.yoursite/ wp-admin. By typing this URL you will go to the admin section of your site. Then you can customize your site as you want. It’s very easy. Go on!
Pro TIP:
Please change your login URL which was a default panel (wp-admin or wp-login.php), because for the security issues. Many web hackers are continuously trying to break your website’s login panel by trying various permutations & combinations of usernames & passwords to get inside of your WordPress shop. This is called a brute force attack. There are lots of plugins are available who help you to customize your site’s default login URL.
WPS Hide Login https://wordpress.org/plugins/wps-hide-login/
STEP 6- Get Theme
You are half way done but more to go. If you are tired you may take a short break. You can get lots of free eCommerce themes on WordPress but we recommend you to use the paid theme as you’d already in a mood to invest and you’re going to open up a new eCommerce business. So, that going with a paid theme is a make sense matter, isn’t it?
So, as you have to publish a wonderful theme that can represent your shop better than any other themes. As we’d mentioned earlier there are tons of themes available on the Envato market (ThemeForest). Some of them are free of cost and some need to buy. If you really take it seriously then we’re going to suggest you, take the premium themes. To get the best result you should use the best product.
There are few themes available which deserve good names truly. I am giving the download link so that you can find them easily.
1) Recommended eCommerce WordPress theme: YourStore

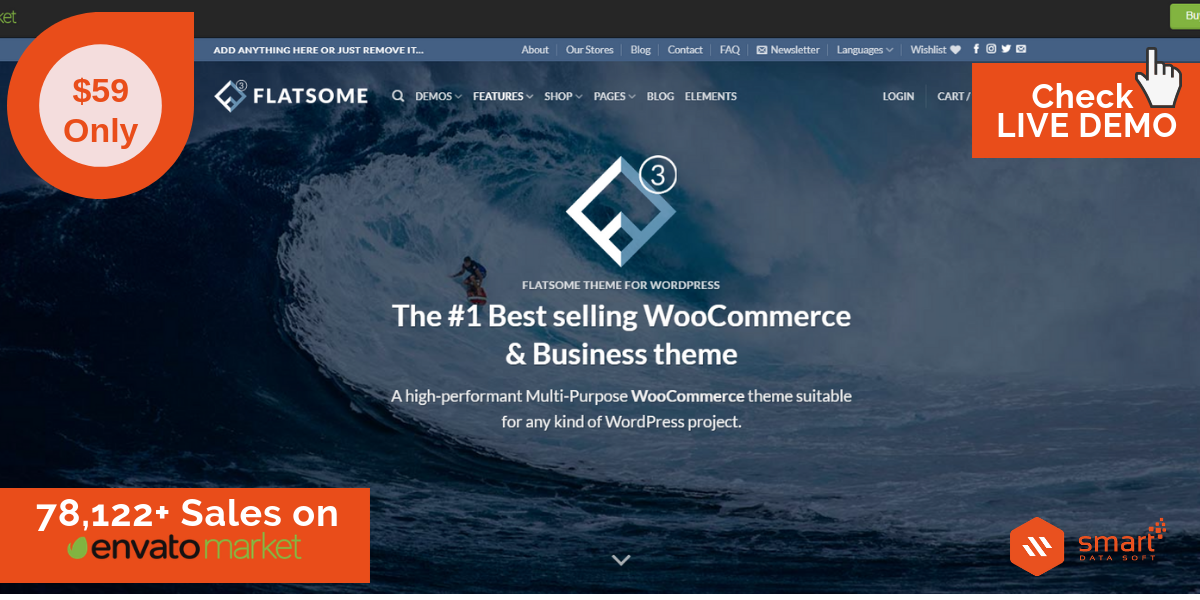
2) Recommended eCommerce WordPress theme: Flatsome
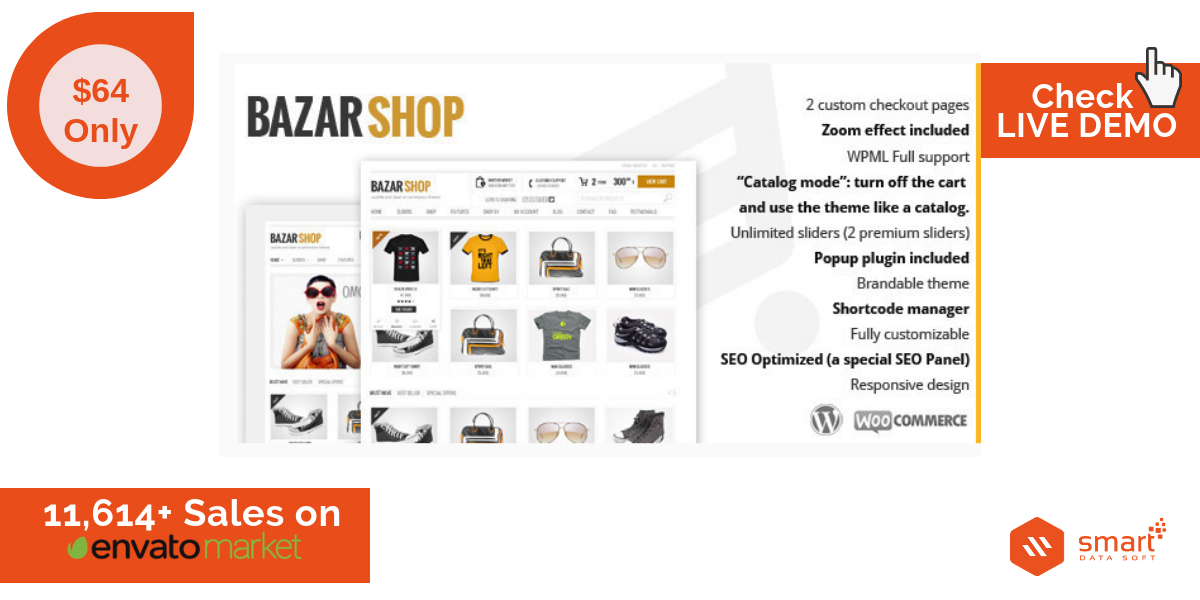
3) Recommended eCommerce WordPress theme: BazarShop
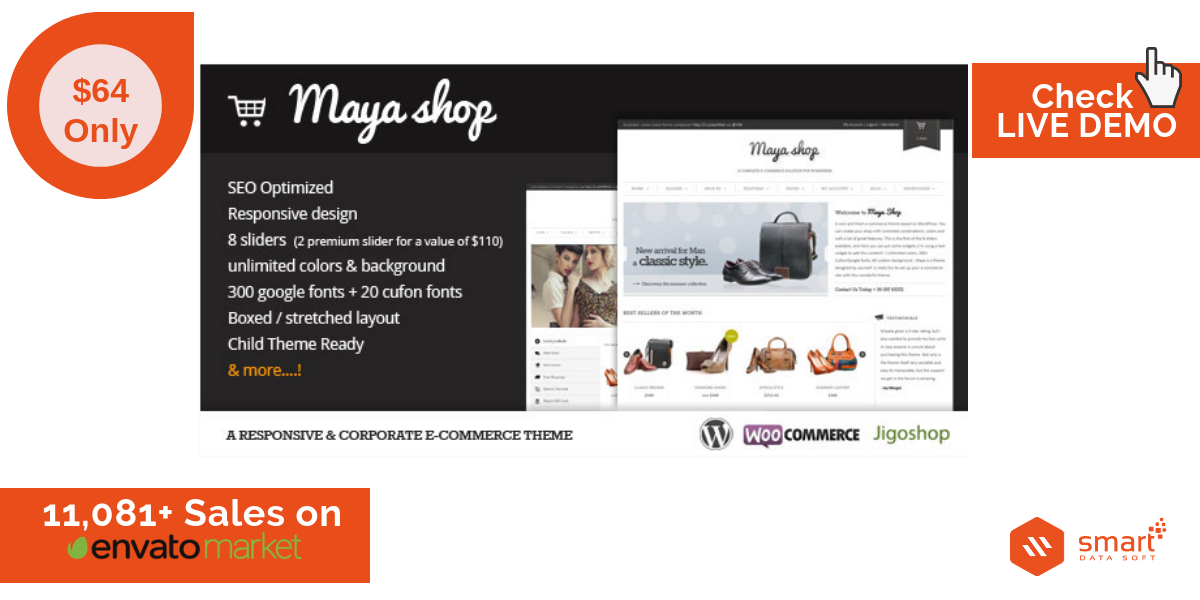
4) Recommended eCommerce WordPress theme: MayaShop
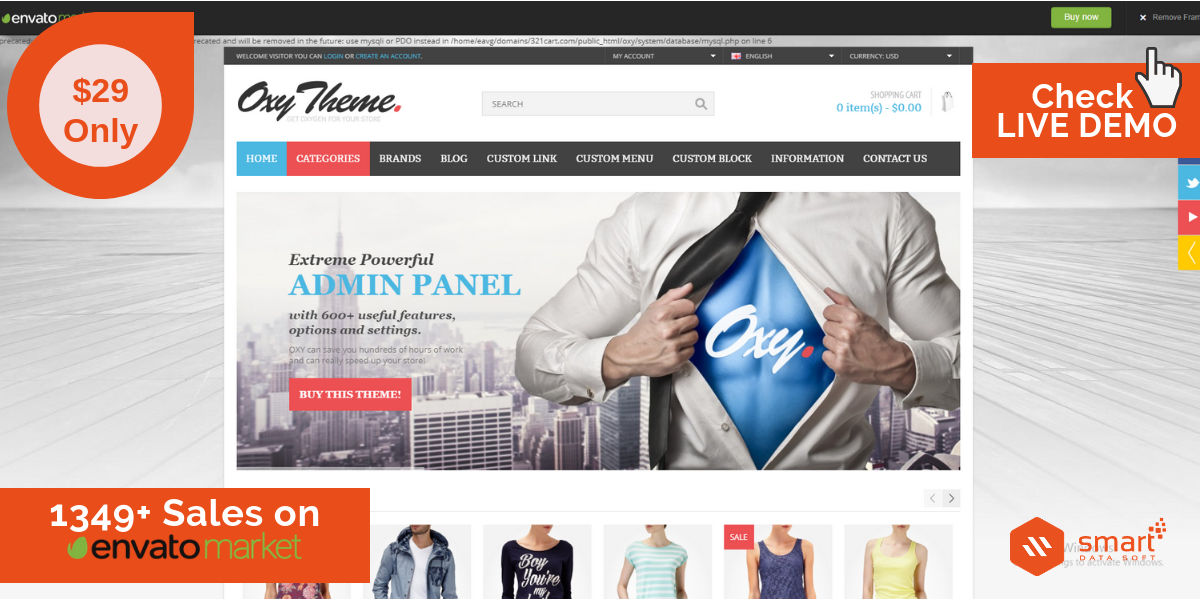
5) Recommended eCommerce WordPress theme: OXY
All the above themes are best in the Envato market for an eCommerce site. They are also customizable. You can choose your one by yourself. None can know better than you about your suitability. But if you still want to hear our suggestion then we should say that the YourStore theme for your eCommerce site because
YourStore is flexible and fast loading WooCommerce theme with latest design trend and user-friendly functionalities. Using YourStore features, you can create your expected e-commerce store within quick succession.YourStore developed with pixel perfect design and all functionalities of WooCommerce those are badly needed for a user to develop minimal or large e-commerce store. YourStore is clean coded and extensible for developers, it will help developers to explore their creativity on their underdeveloped store. No need to waste valuable time to look for other WordPress WooCommerce themes. Get ready to show your creativity and start the development process of your attractive e-commerce store with the YourStore theme.
We will again say that it’s totally up to you which theme should you take.
So, probably you have selected the theme! Now go to the next step.
STEP 7- Install the Theme
After purchasing the theme from Envato market you have to install the theme to your WordPress site. To install the purchased theme follow the instruction-
– Go to the admin panel of your site. (www.yoursite.com/wp-admin)
– On the left-sided dashboard there you will find an option named Appearance. Hold the mouse cursor over it and you will see a sub-option. Click the ‘Themes’ option.
– On the top, you will find a button which is named “Add New”. Just click on “Add New”.
– Now click “Upload Theme”.
– Upload your downloaded file by selecting “Choose File”.
– After uploading select “Install Now” and after installation, you will redirect to a new page.
– In a new page, you find the option to activate the theme. Now click on the “Active” button.
You have done with theme installation.
STEP 8- Plugin Installation
After installing your desired WordPress theme in your eCommerce site you need to install important plugins. Generally, the plugin is one kind of software that is included with the specific feature. These plugins will help to manage your website properly and you will be able to add essential data. More broadly plugin means a small kind of extra software component that adds a specific feature to an existing system like WordPress is a content management system where you can install your necessary plugins (like a social media plugin) based on your website criteria.
Now we’re going to tell you the best 7+ important and necessary WordPress plugins for your eCommerce shop-
a) WooCommerce
WooCommerce is one of the most used wp plugins when it comes for eCommerce shop website. This is an amazing plugin which was originally created as a fork of Jigoshop back in 2011 but finally was grabbed by Automatic (mother company of WordPress) in 2015. WooCommerce has now powers over 30% of all online stores with over 1M+ downloads all over the world. This is undoubtedly the most customizable eCommerce platform for building your online business ever you think!
So, if you want to run an eCommerce site properly, the 1st thing you definitely need is WooCommerce plugins. This plug-in will offer you thousands of extensions which will manage your visitors into customers. That will definitely increase your sales. This plugin can grow your email list too. So, to boost your site at a profitable level, you must need this conversion optimization tool.
b) Easy Digital Downloads
Easy Digital Downloads is a complete eCommerce solution for selling digital products on WordPress. Though WooCommerce has this kind of feature, EDD has made itself more focused on digital selling, and digital downloads. Whether you are thinking about to download software, documents, photos, eBooks, graphics or any kind of downloadable files then EDD will provide you with a complete system in terms of selling your digital products. It has been translated into more than two dozen languages and it gives you a natural, coolest experience wherever you live. Finally, you don’t need to be worried about the payment receive issues as it has plenty of verified payment gateways and which is free.
YITH WooCommerce plugin
Sometimes the customer wants to target some product that they can buy later. YITH WooCommerce will help them to save there on the wish list. As a result, if they will visit later on your site, the can find the product easily they want. This plug-in also offers to share the wish list with friends and family.
WooCommerce multilingual
To translate your product and WooCommerce pages you will definitely need this plug-in. There is some WordPress theme made with the languages other than English. To help your customers in selecting their preferred language, you just need to add this plug-in.
WooCommerce customizer
As I said, you do not need to learn any coding language to build a woocommerce site; this customizer will help you with this topic. Generally, it is a filter. This filter offers you to show like button, comments, label, and fields specifically with the help of a simple setting page.
So I hope you will understand that plugins are necessary for building a woocommerce site. Without the plugin, you will not able to make any better site. Once you open the plugin option from your dashboard, you will see thousands of plugins. You have to use them as you need.
Install WooCommerce pages & images
You have to install woocommerce pages from your dashboard to bring all the default pages on your home page. It is an important setting for your online business. It manages short-codes for different pages that are presented in your site. As a result, the link will be made for individual pages on your home page. So visitor can visit in a short time in the important section easily.
For example, you can individualize cart page, shop page, customer care page in your home page. Therefore, a visitor can easily go to these pages with just one click.
To visualize the woocommerce pages in your homepage you need to go your dashboard first. Then under the dashboard there presents “Appearance” option. Then click on “Install WooCommerce Pages”. After installing it again go to the options are present in the left-hand site. You will see the “All Pages” option. Go through the option and you will find pages like shop, cart etc. Just copy and paste the individual page link in the link box.
After managing the short link for essential pages in your home page, you need upload images. Open your dashboard, and then go to the option “photography” on the left-hand side. There you can add the price of your product and upload images. You can upload as many photos as you require. One thing you should remember before uploading images, using same height is optional but using the same width for every image is mandatory.
Once your image size will be set, you have to resize all images. This can be done with the assist of the plug-in. 1st go to the “Tools” option in the dashboard. Then click the option “Regenerate All Thumbnails”. If you do not find this option then you need to install Regenerate Thumbnails plug-in.Code Quality– The theme is coded perfectly. For coding Bootstrap3, HTML5, CSS3 are done so nicely. There are also 12 PSD files available.
Outlook- The theme has the most attractive outlook with amazing colors. Separation of different section
Customer Service- They also provides 6 months of customer support. In this support section, the author will solve the problems which are related to the themes. They also provide 12 months of extended support.
Usability- Mobile support is available. You and your customers can operate this theme from not only computer but also from their Smartphone or tab. This theme is highly responsive.
Installation process- One-click installation is available for this theme. You can easily install this theme in your website.
Customization- If you do not have any coding language knowledge then no problem with that! You can easily customize the theme on your own.
Performance- The theme shows a great performance. It is very fast and very effective also.
Overall benefit- It is among the best-repairing services themes. The features of this theme will help you to get more benefit. So, you can start your business with this theme.
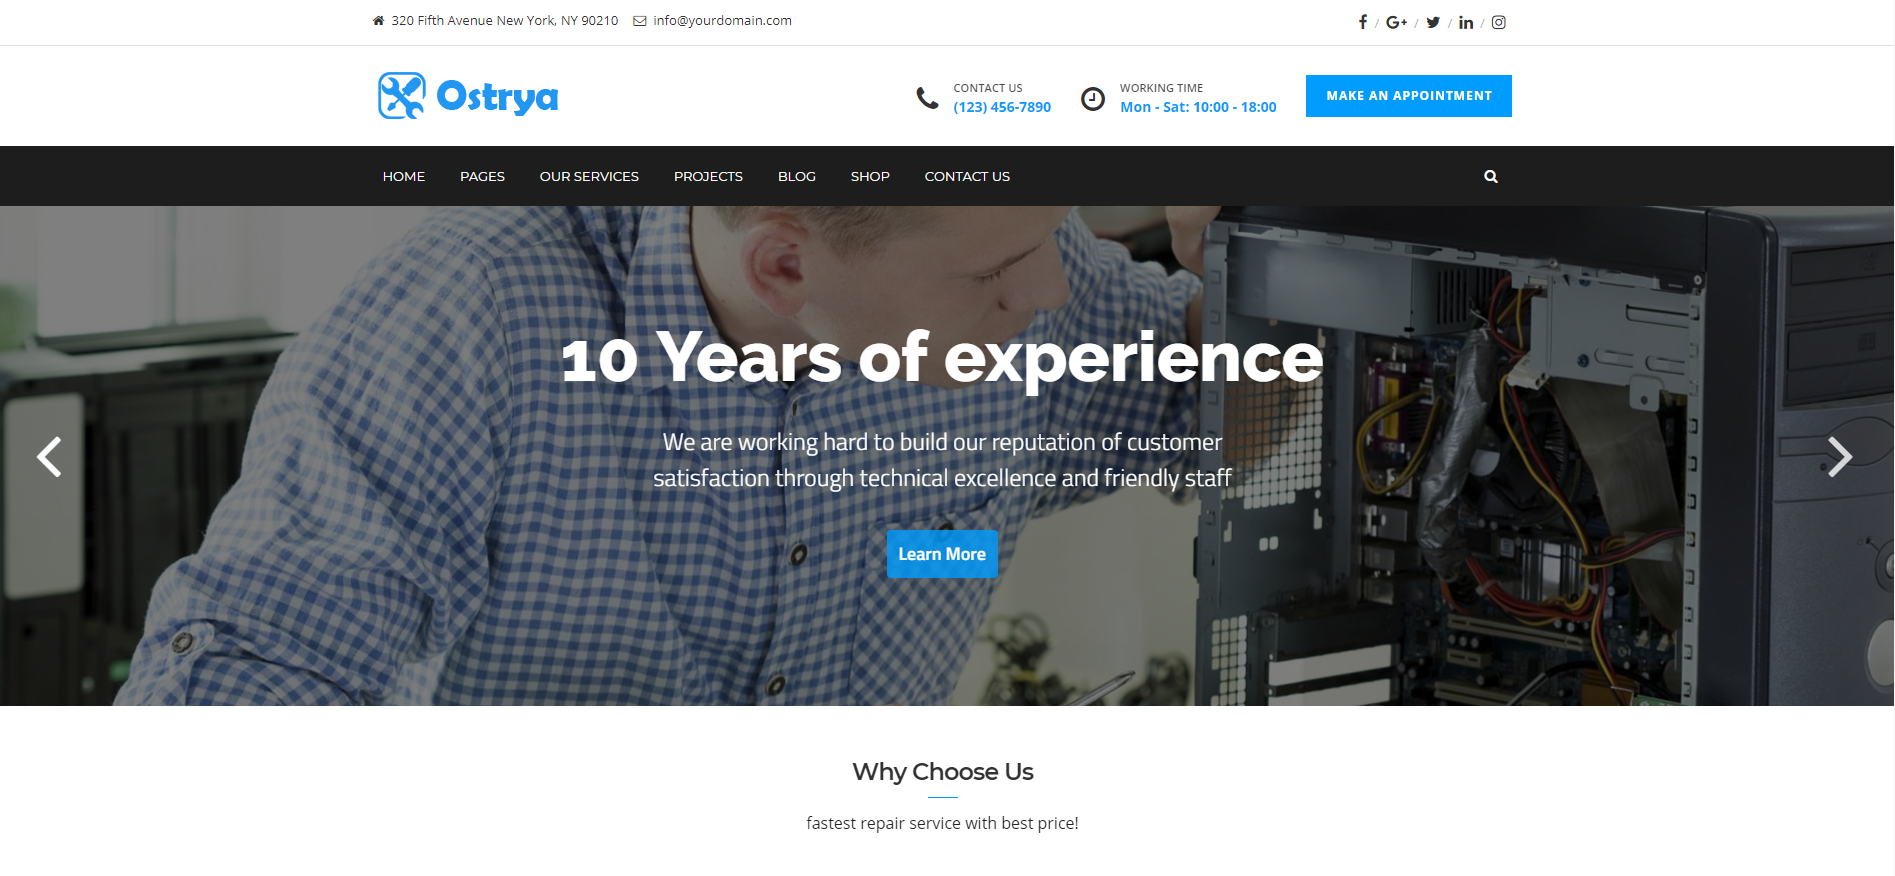
2) Ostrya – Computer Repair & Mobile Phone Repair Service WordPress Theme
With a different section on the homepage, this theme is beneficial. People can easily view your services. This theme comes with wide and boxed layouts. Three header types are available with title area customizing feature. Your customers will get a good idea about your services. Translation is ready and easy SEO optimization feature. The visual composer builder will help you to create new pages easily.
Code Quality- Code quality is good for this theme.
Outlook- Its appealing outlook can attract more customers.
Customer Service- They provides 6 months of customer support with 12 months of extended support.
Usability- Especially, the theme is suitable for computer users.
Installation process- It is easy to activate the theme.
Customization- The theme is easy to custom.
Performance- It gives a quick performance.
Overall benefit- Finally you can get a good feedback from this theme.
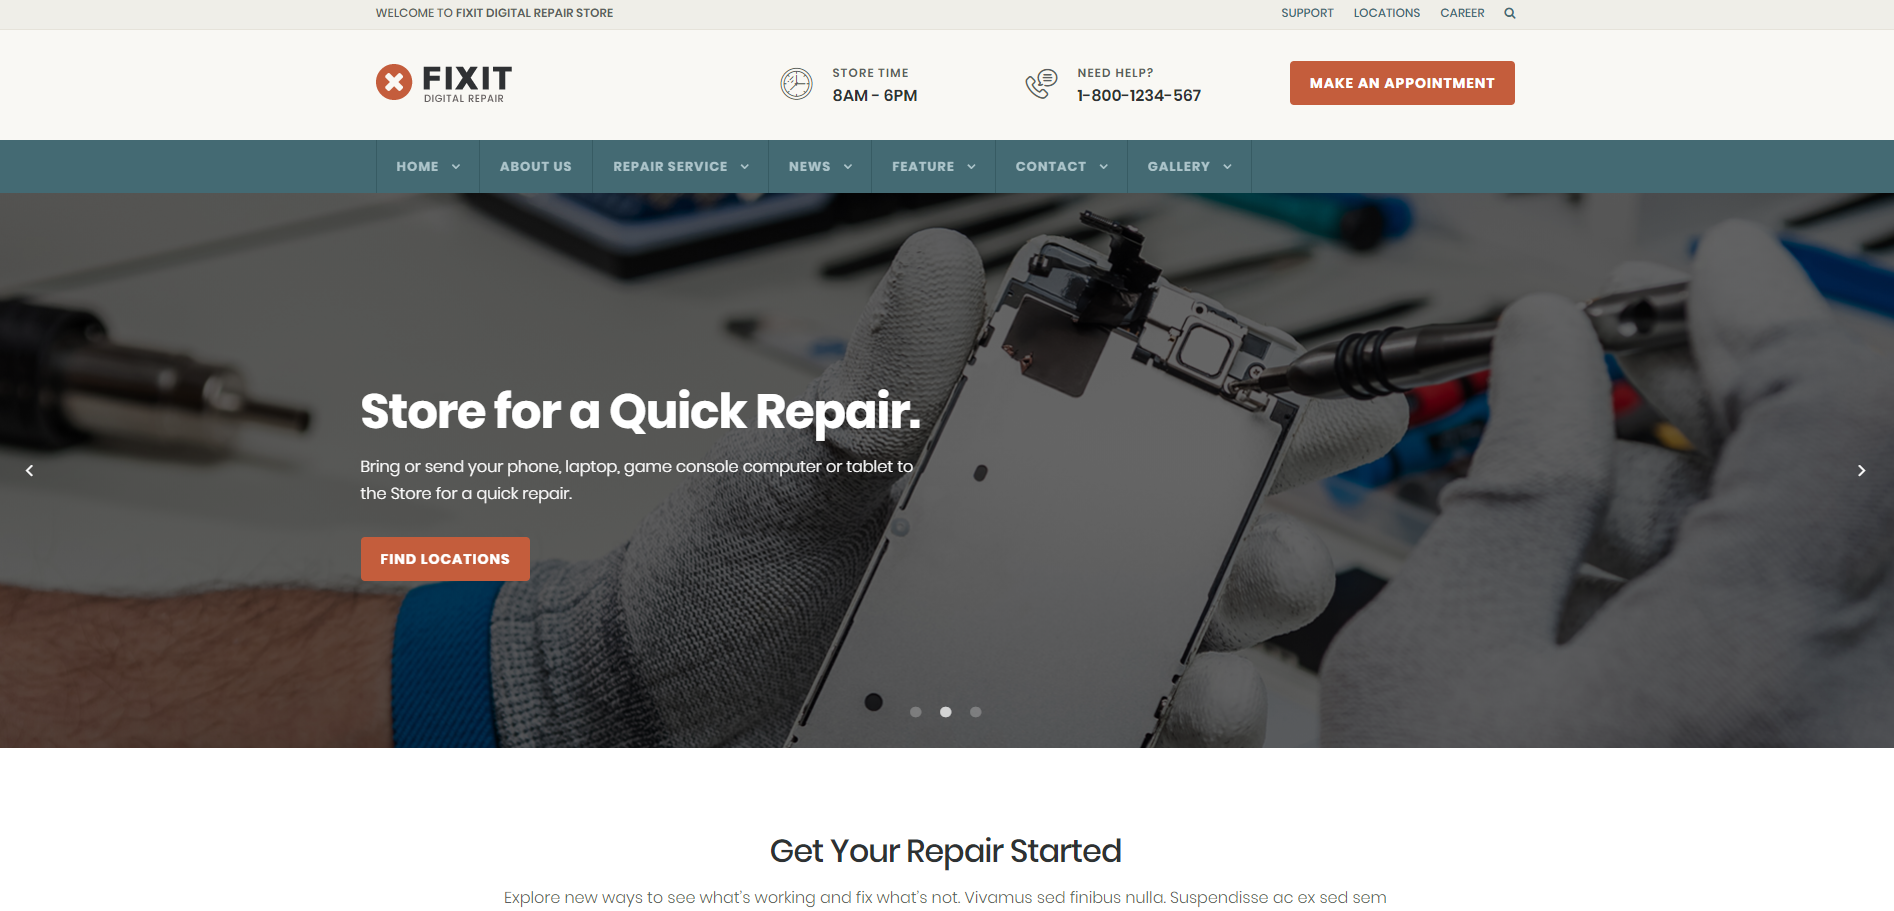
3) Phone, Computer Repair Shop Website Template | Fixit
With fresh typography, this theme will give you 12 plus service page s for phone repairing. It has the unique design. You can use this site for multi purposes but it is specially built for phone and computer repairing. This site can help you with its’ various cool features.
Code Quality- Coding has been done with the latest coding languages.
Outlook– The theme comes with a great outlook which can attract the visitors.
Customization– Like all other themes it can also be customized easily.
Usability– The theme is very much responsive. You can use it through your Smartphones and tabs too.
Process of Installation– The process of installation is very easy.
Customer Support– They provides 6 months of customer support with extended 12 months of support.
User Satisfaction– User has great satisfaction in using this theme.
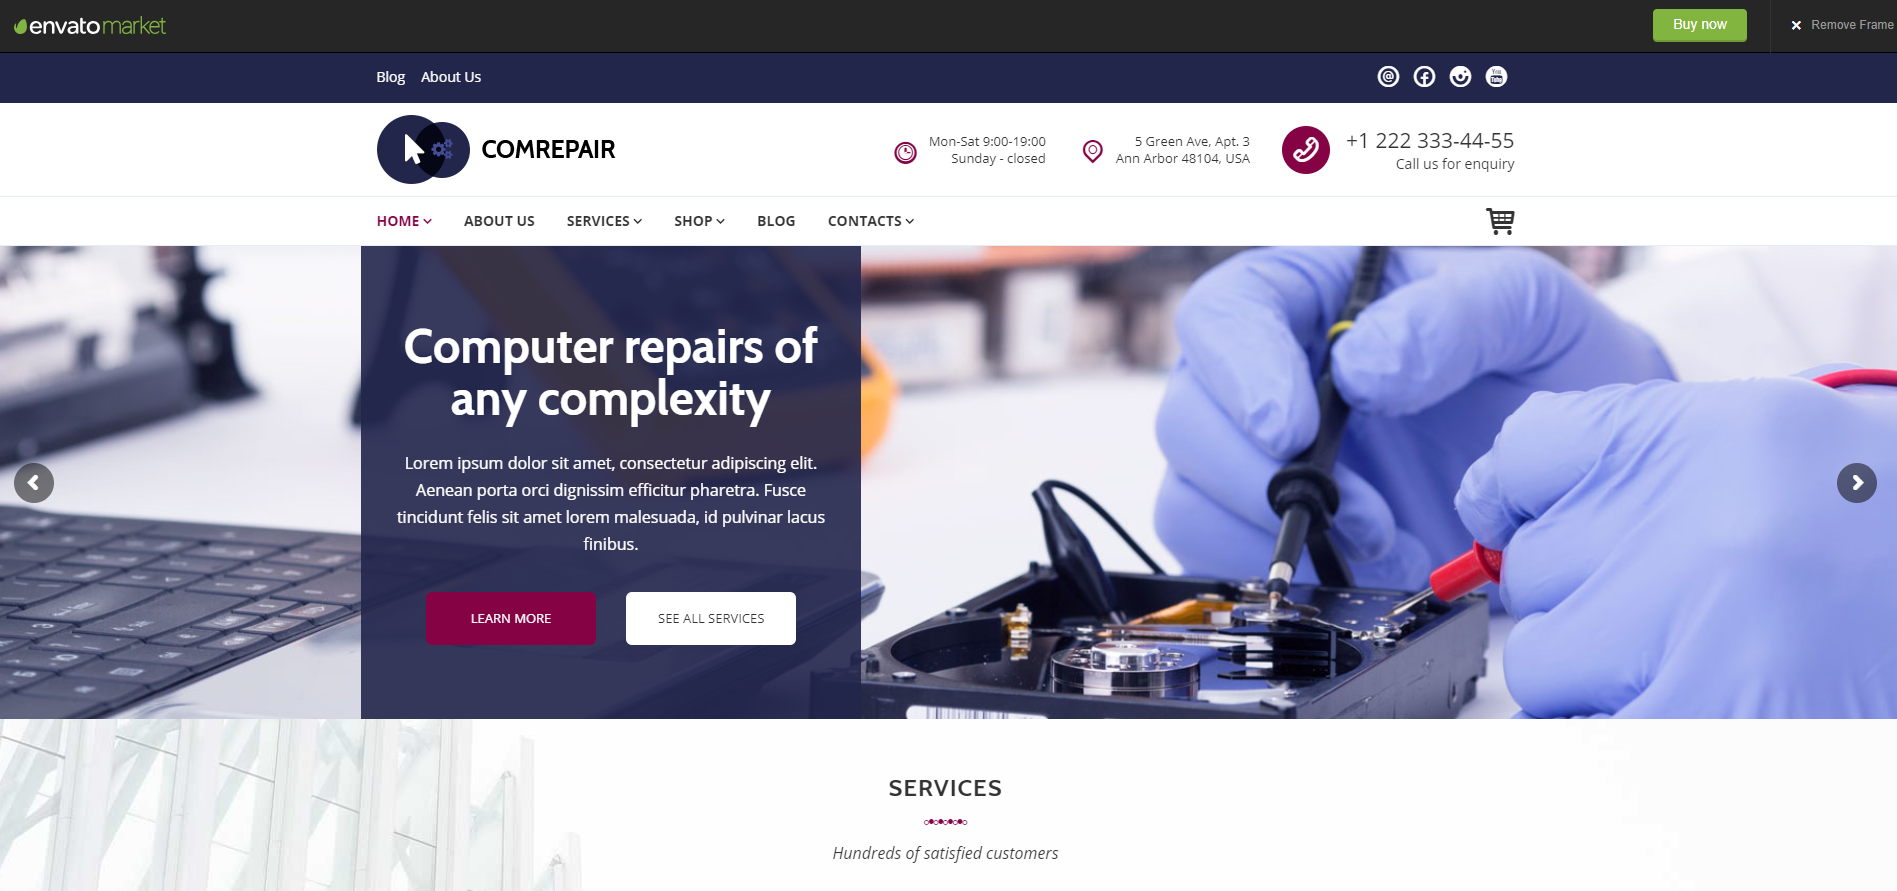
4) ComRepair – Computer Repair Services WordPress Theme
The ComRepair theme comes with stylish design and helpful content. To make your website more attractive this theme will help you more. All photos are already included in the theme. Real-time customization is available for this theme. There is a powerful slider editor in this theme. Unlimited color for customizing is also available.
 Code Quality- The quality of coding is good.
Outlook- The outlook is amazing and attractive.
Customer Service- They gives 6 months of customer support with 12 months of extended support.
Usability- The theme is suitable for all web browsers.
Installation process- the iRepair theme is easy to install.
Customization- Customization is available and it is easy to customize.
Performance- Performance is good.
Overall benefit- Overall it is a good theme for your repair service website.
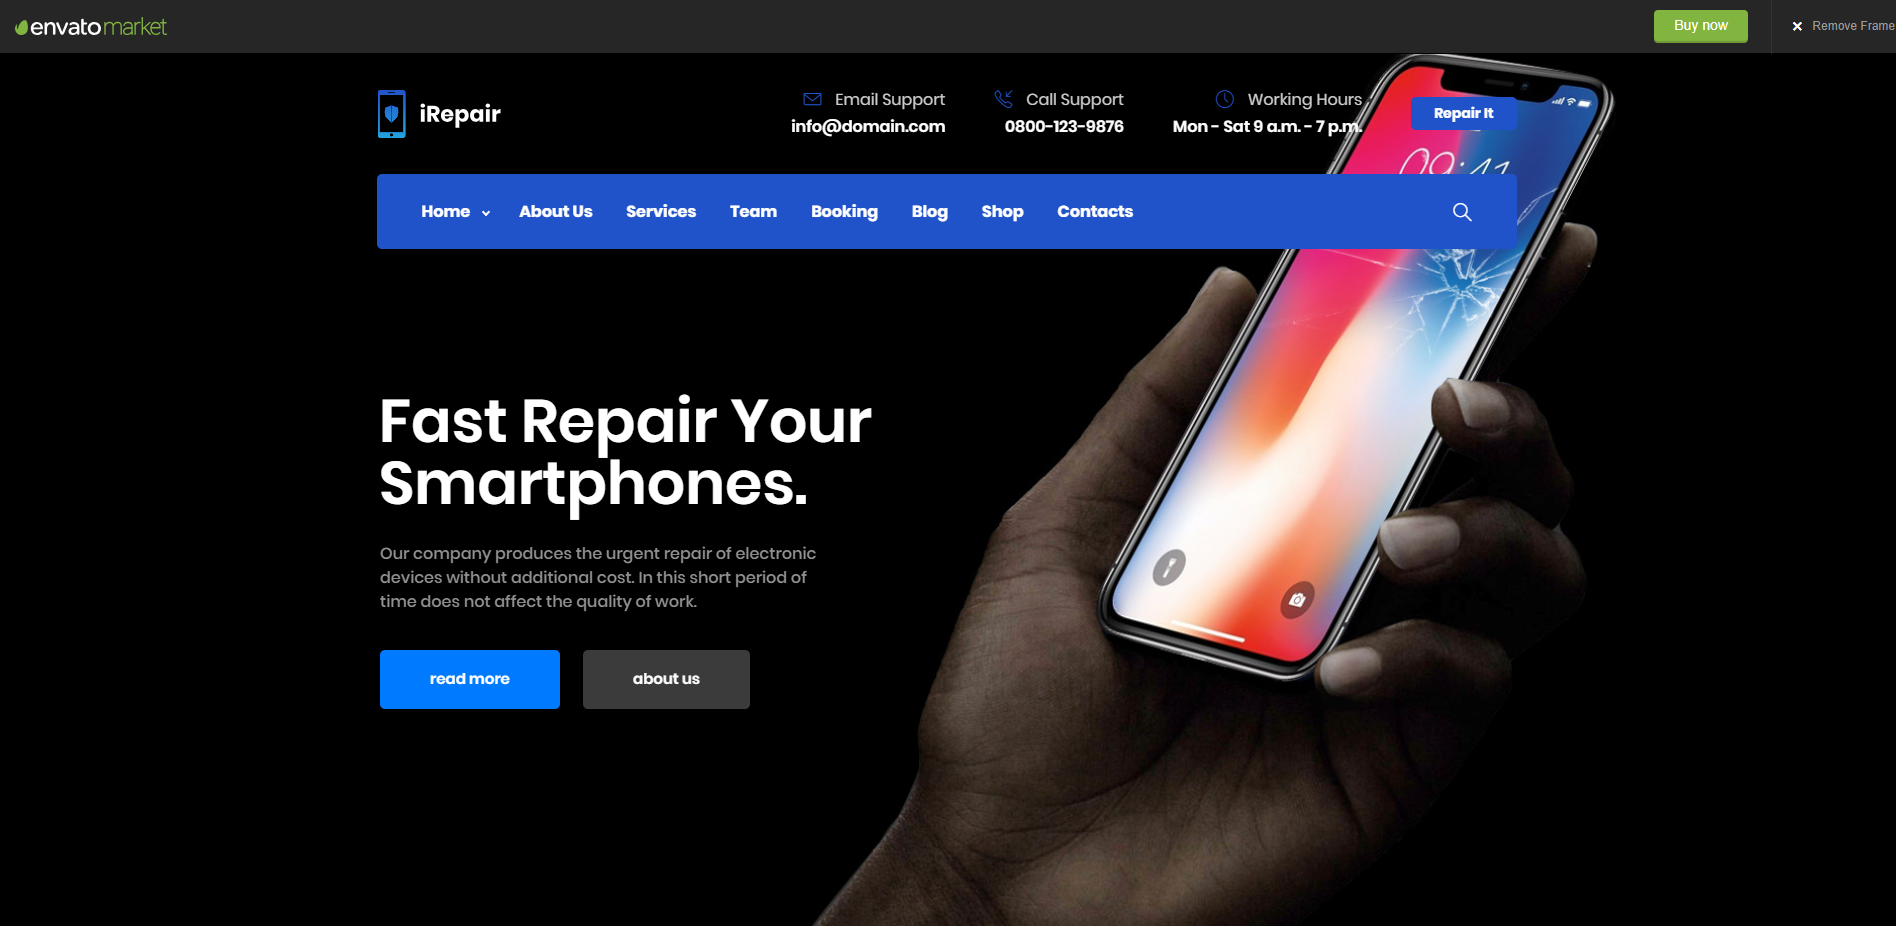
5) iRepair | Mobile Phone Repair, Electronics, Laptop Repair
iRepair is a theme for those businessmen who provide mobile, electronics and computers repairing services. This easily changeable theme is a multipurpose repairing theme. But the key purpose of this theme is to repair mobile phones and computers. So, you can have it for your repairing site.
Outlook- It has a nice outlook.
Customer Service- The theme creator provides 6 months of customer support with extended support of 12 months.
Usability- You can use it in smartphones, tab or on your computer.
Installation process- It is easy to install.
Customization- The theme is easy to customize.
Performance- It gives a very good performance.
Overall benefit- You can start your business with this theme.
Final Notes
People are using computers and cellphones in large number and most of the times they need the help of a technician to repair their devices. So, it is your time to provide them the services. And a WordPress theme will help you to custom your site from general to a professional one. To keep updated you should also use the best theme for presenting your site to the customers like others. Pick the best theme that is suitable for your condition. Click to buy the best computer and cell phone repair services WordPress theme for your website.